To split the drawing before printing - see the next chapter.
If you are to print the complete drawing on a sheet, you must create a plot assembly.
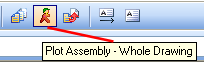
Select Plot Assembly - Whole Drawing on the toolbar
Toolbar options to create a new plot assembly.
DDS will now create the new presentation and will ask you to enter a name for the presentation.
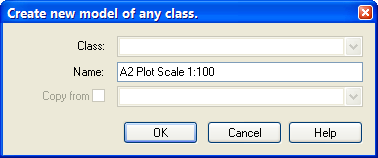
Enter a name for the presentation - easy to recognize later.
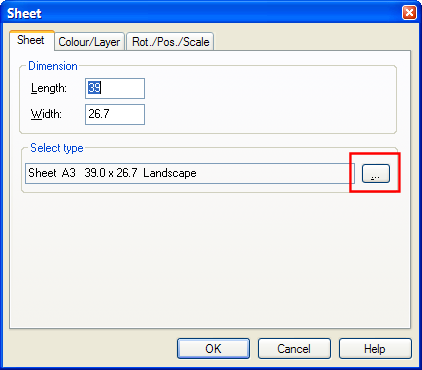
Type and size of sheet. Press ... button to select another sheet from the product database.
When sheet and title field have been positioned, get the drawing to position on the sheet. Here you select drawing scale.

Enter scale in the field ”Global Scaling”.
The size of a title field may get too large is positioned on an A4 sheet. If you want to scale down the size, double-click on the title field and open the Position/Scale flag.
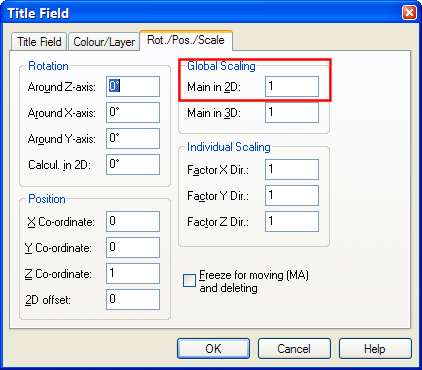
2D – scale can be changed. If you want a title field half the size, enter 0.5. If you want a title field twice as large, enter 2.
The information to be included in the title field is entered from the menu File -> Project and drawing information.
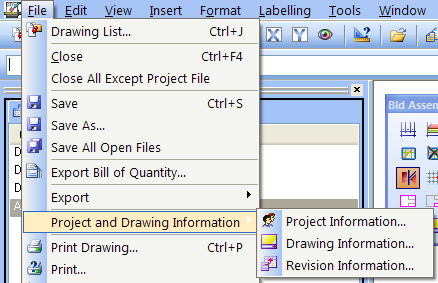
Project info, drawing info and revision.
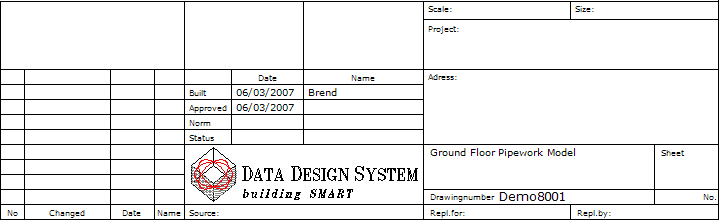
Complete title field.
When you have the correct sheet, a complete title field and the drawing positioned with the correct rotation and scaling, you are ready for printing. Press the button ”Print” from the menu. An external plot program will start.
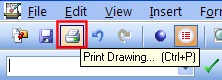
Print from toolbar.
When the plot program has been started, open the tab ”Page setup”
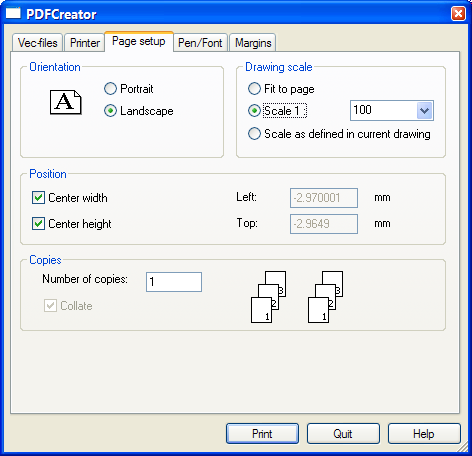
Page setup. Here you enter scale, position and orientation.
In the tab ”Printer”, select which printer you want to use, and type of sheet
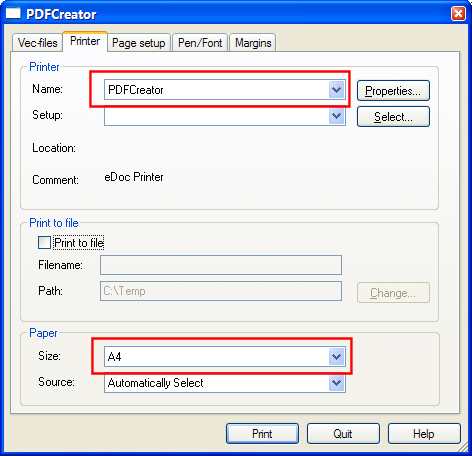
Which printer, and type of sheet.
In the tab ”Pen/Font” you select the pen setup. DDS has default pen setup, and we use the one called

Pen setup. Use VVS or Standard.
Click on "Print" to print the drawing.
If the drawing is too large for one sheet, it must be split. Part drawings and Sections are principally two similar operations. First you must define the part drawing, then generate. At last you must have separate sheets for each section drawing. Select from the menu Tools -> Part drawings - >Choose Window.
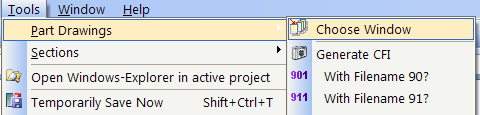
Part drawings from the menu.
Define a rectangle across the areas of which you want to make a part drawing. End by indicating where you want the origin of the part drawing to be.
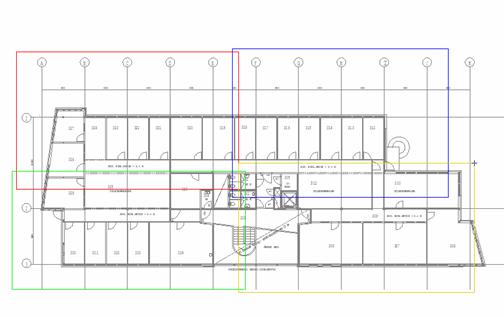
Rectangles of different colours show where the section drawings have been defined.
When the part drawings have been defined, generate them as separate files. Select from the menu Tools -> Part drawing -> -with number 901.
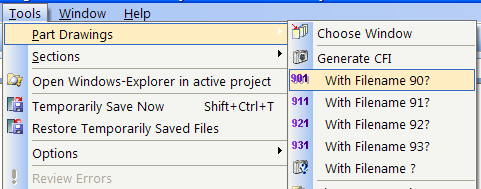
Generate part drawings from the menu.
DDS will now create new files that are saved in the project folder. The file name will be the first 4 characters in the project name + 8901. The number will ascend in accordance with the number of section drawings that are generated.
Example. Our project is named DEMO . The 4 section drawings will then get the names demo8901, demo8902, demo8903 and demo8903.
When the section drawings have been generated, you must create new plot assembly. Select Add New Layout on the toolbar.
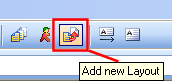
Add Layout toolbar option for printing part drawings.
Give the plot assembly a name that is easy to recognize
Name of plot assembly.
When sheet and title field have been positioned, you need to select the part drawing file you want to insert, using the Insert File command. The files have the extension CFI
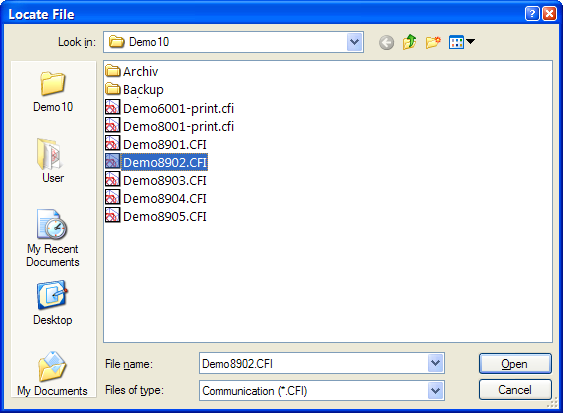
In our example we read in Demo8902.cfi.
Position the drawing on the sheet. Do the same with the other part drawings.
To get a list of all plot assemblies belonging to a drawing, select Show Plot Assembly on the toolbar.
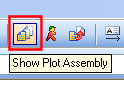
Select plot assembly to list all items belonging to the drawing.
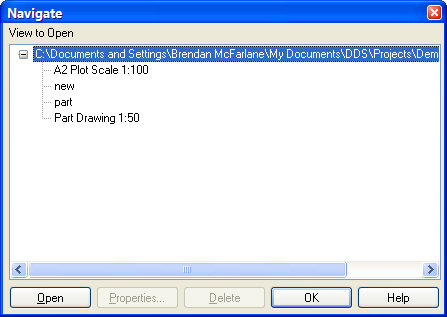
All plot assembly belonging to a drawing. Open by pressing "Open”.
< Previous Section - Next Section >
